I am sharing this today as a birthday treat to celebrate Mud Australia’s 30th birthday. My love affair with Mud runs deep and I have slowly built up my collection of pieces in a very devoted fashion since I first walked into their Sydney shop in 1999. It an absolute privilege to be included in their birthday celebrations this week and share this recipe in their honour. Here’s to another 30 years of creating beautiful essentials for our tables and kitchens, for your consideration in how you create your pieces, the care for the environment and those you work with and how you have made all of our lives so much more colourful.
A little about this cake:
This has all the nostalgia of childhood cakes like those from the pages of The Silver Palate and Maida Heater’s classics (if you know, you know) with a next generation twist of both chocolate and cocoa, coffee, dark brown sugar for a molasses-y kick and sour cream instead of buttermilk for intensity and a slightly denser crumb.
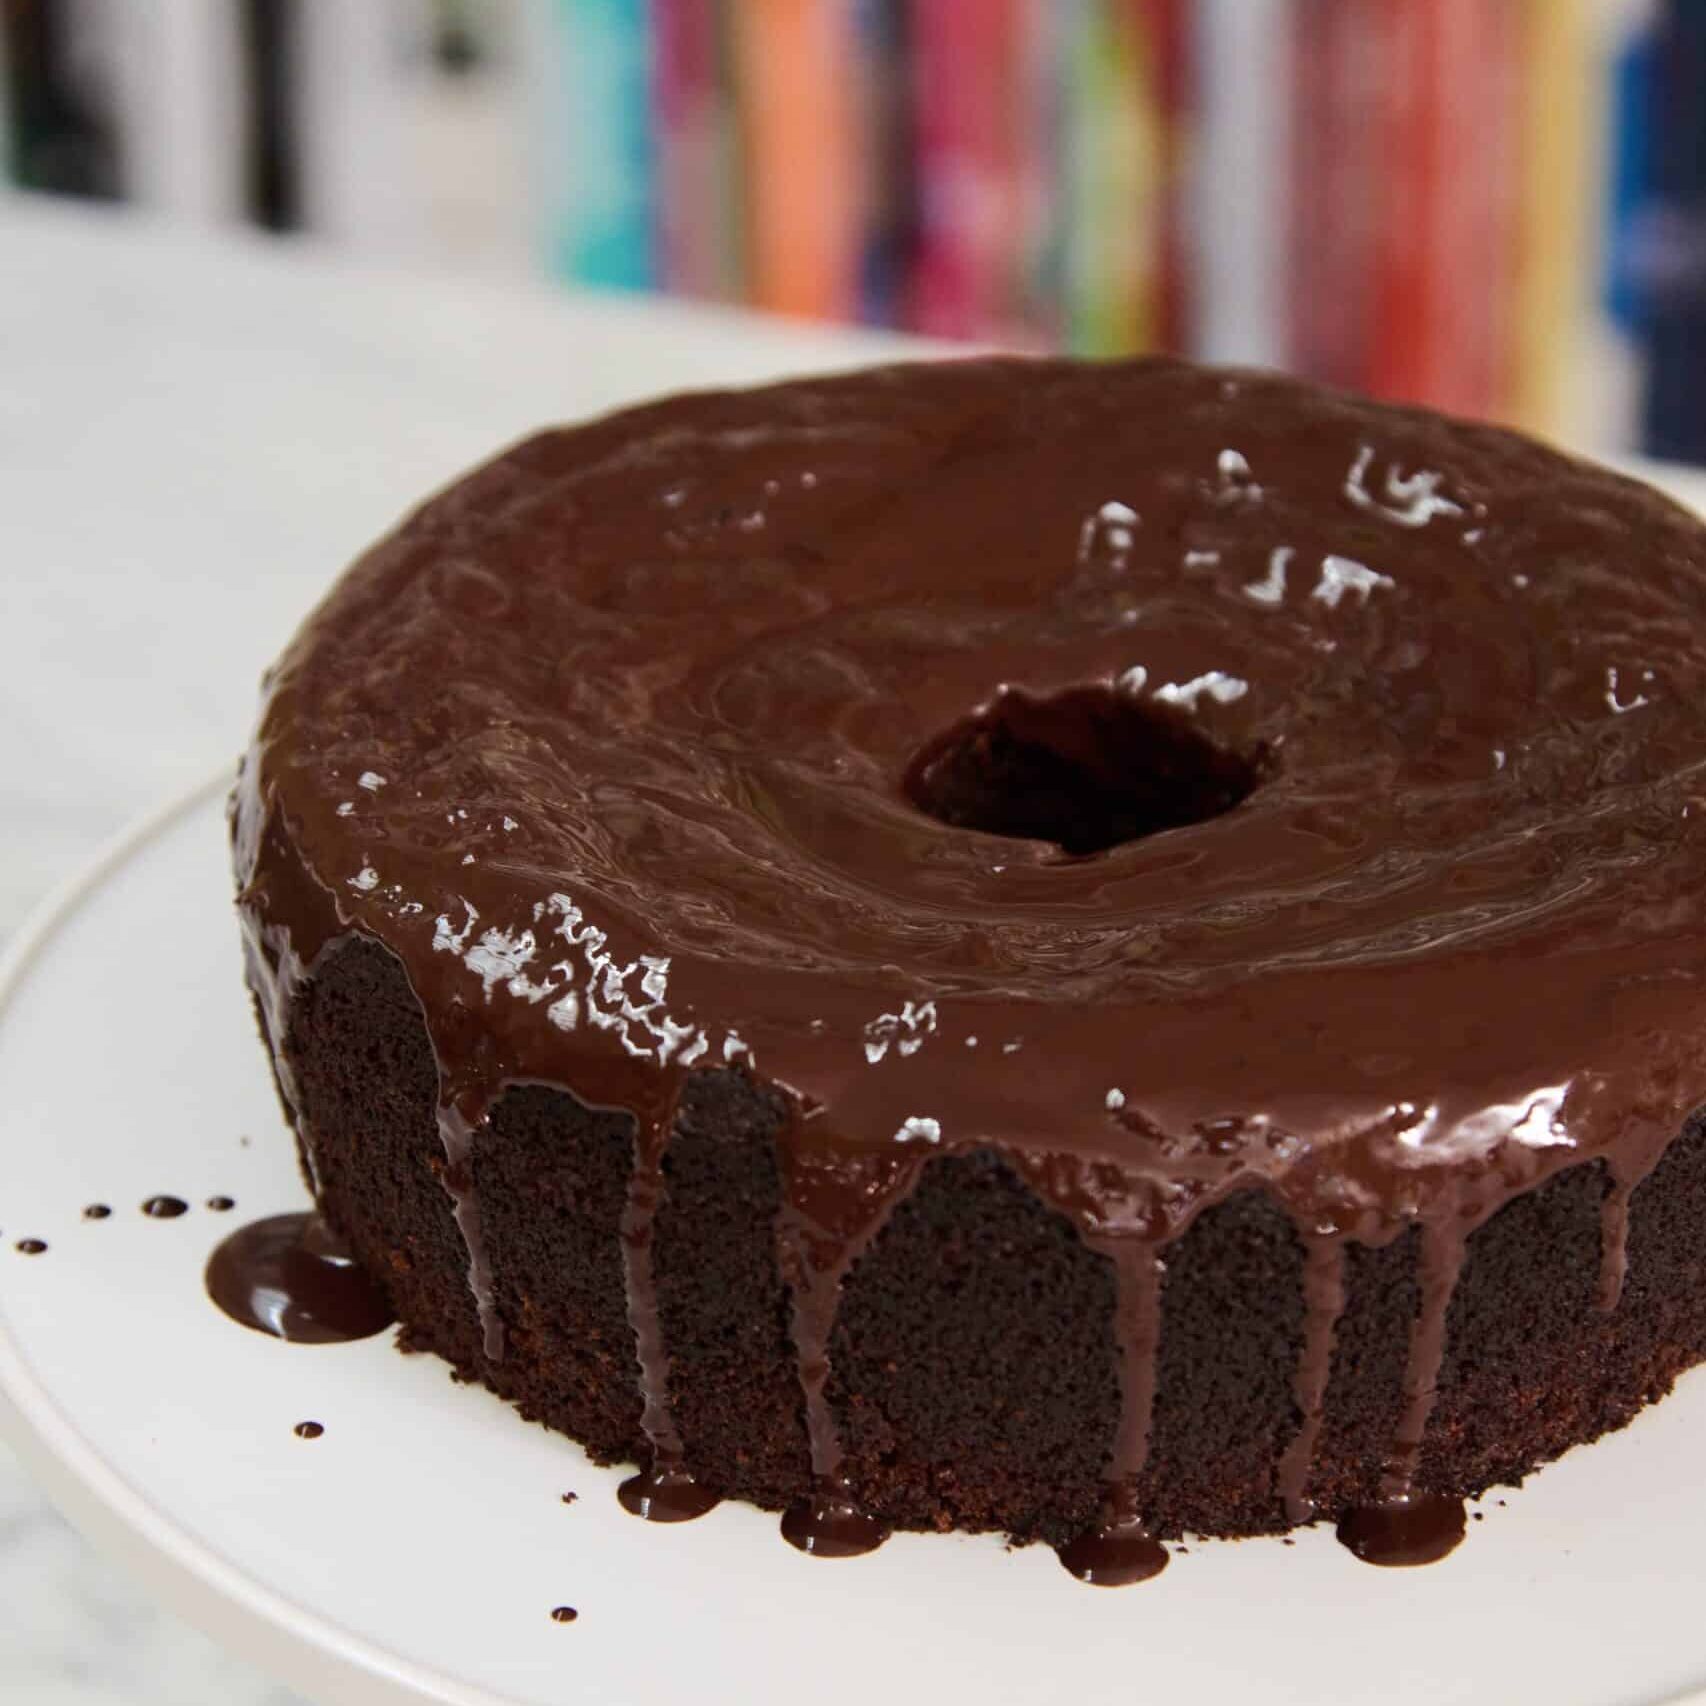
While you could easily ice this with a simple ganache and call it a day, I am taking this opportunity for full birthday cake jazz with a grown up creme fraiche buttercream. Think cream cheese icing, but less sweet and a silky tang to lighten the experience.
A note on replacements: If you can’t find sour cream, please don’t fret. Buttermilk or full fat, preferably Greek yoghurt works just as well for the cake. I love to use dark muscovado sugar here for added depth, but dark brown (or light brown) sugar works just as well. And if all else fails, go back to the original 1970’s version of good ol’ all white sugar. You can replace the sunflower oil with olive oil for extra unctuousness (or if you are avoiding “those” oils) and if you want to make the cake dairy free (with a coconut milk ganache) you can replace the sour cream with full fat coconut milk.
For a single layer slightly higher cake, I make this in a 24cm (9 inch) cake tin with a removable base (bake for 45-50 mins). For this all out filled and iced version, I make this in two 22cm cake tins and reduce the cooking time to 35-40 minutes allowing for equal layers without the stress of precision cake division. This also makes great cupcakes for easy sharing. They will take 20-23 minutes to cook depending on size.
I added a later of fig jam in this video underneath the first layer of icing, but feel free to use any of your favourite flavours (blackcurrant makes a regular appearance too) or simply leave it out if it’s not your thing.


For the Chocolate Cake
- butter for greasing the cake tin
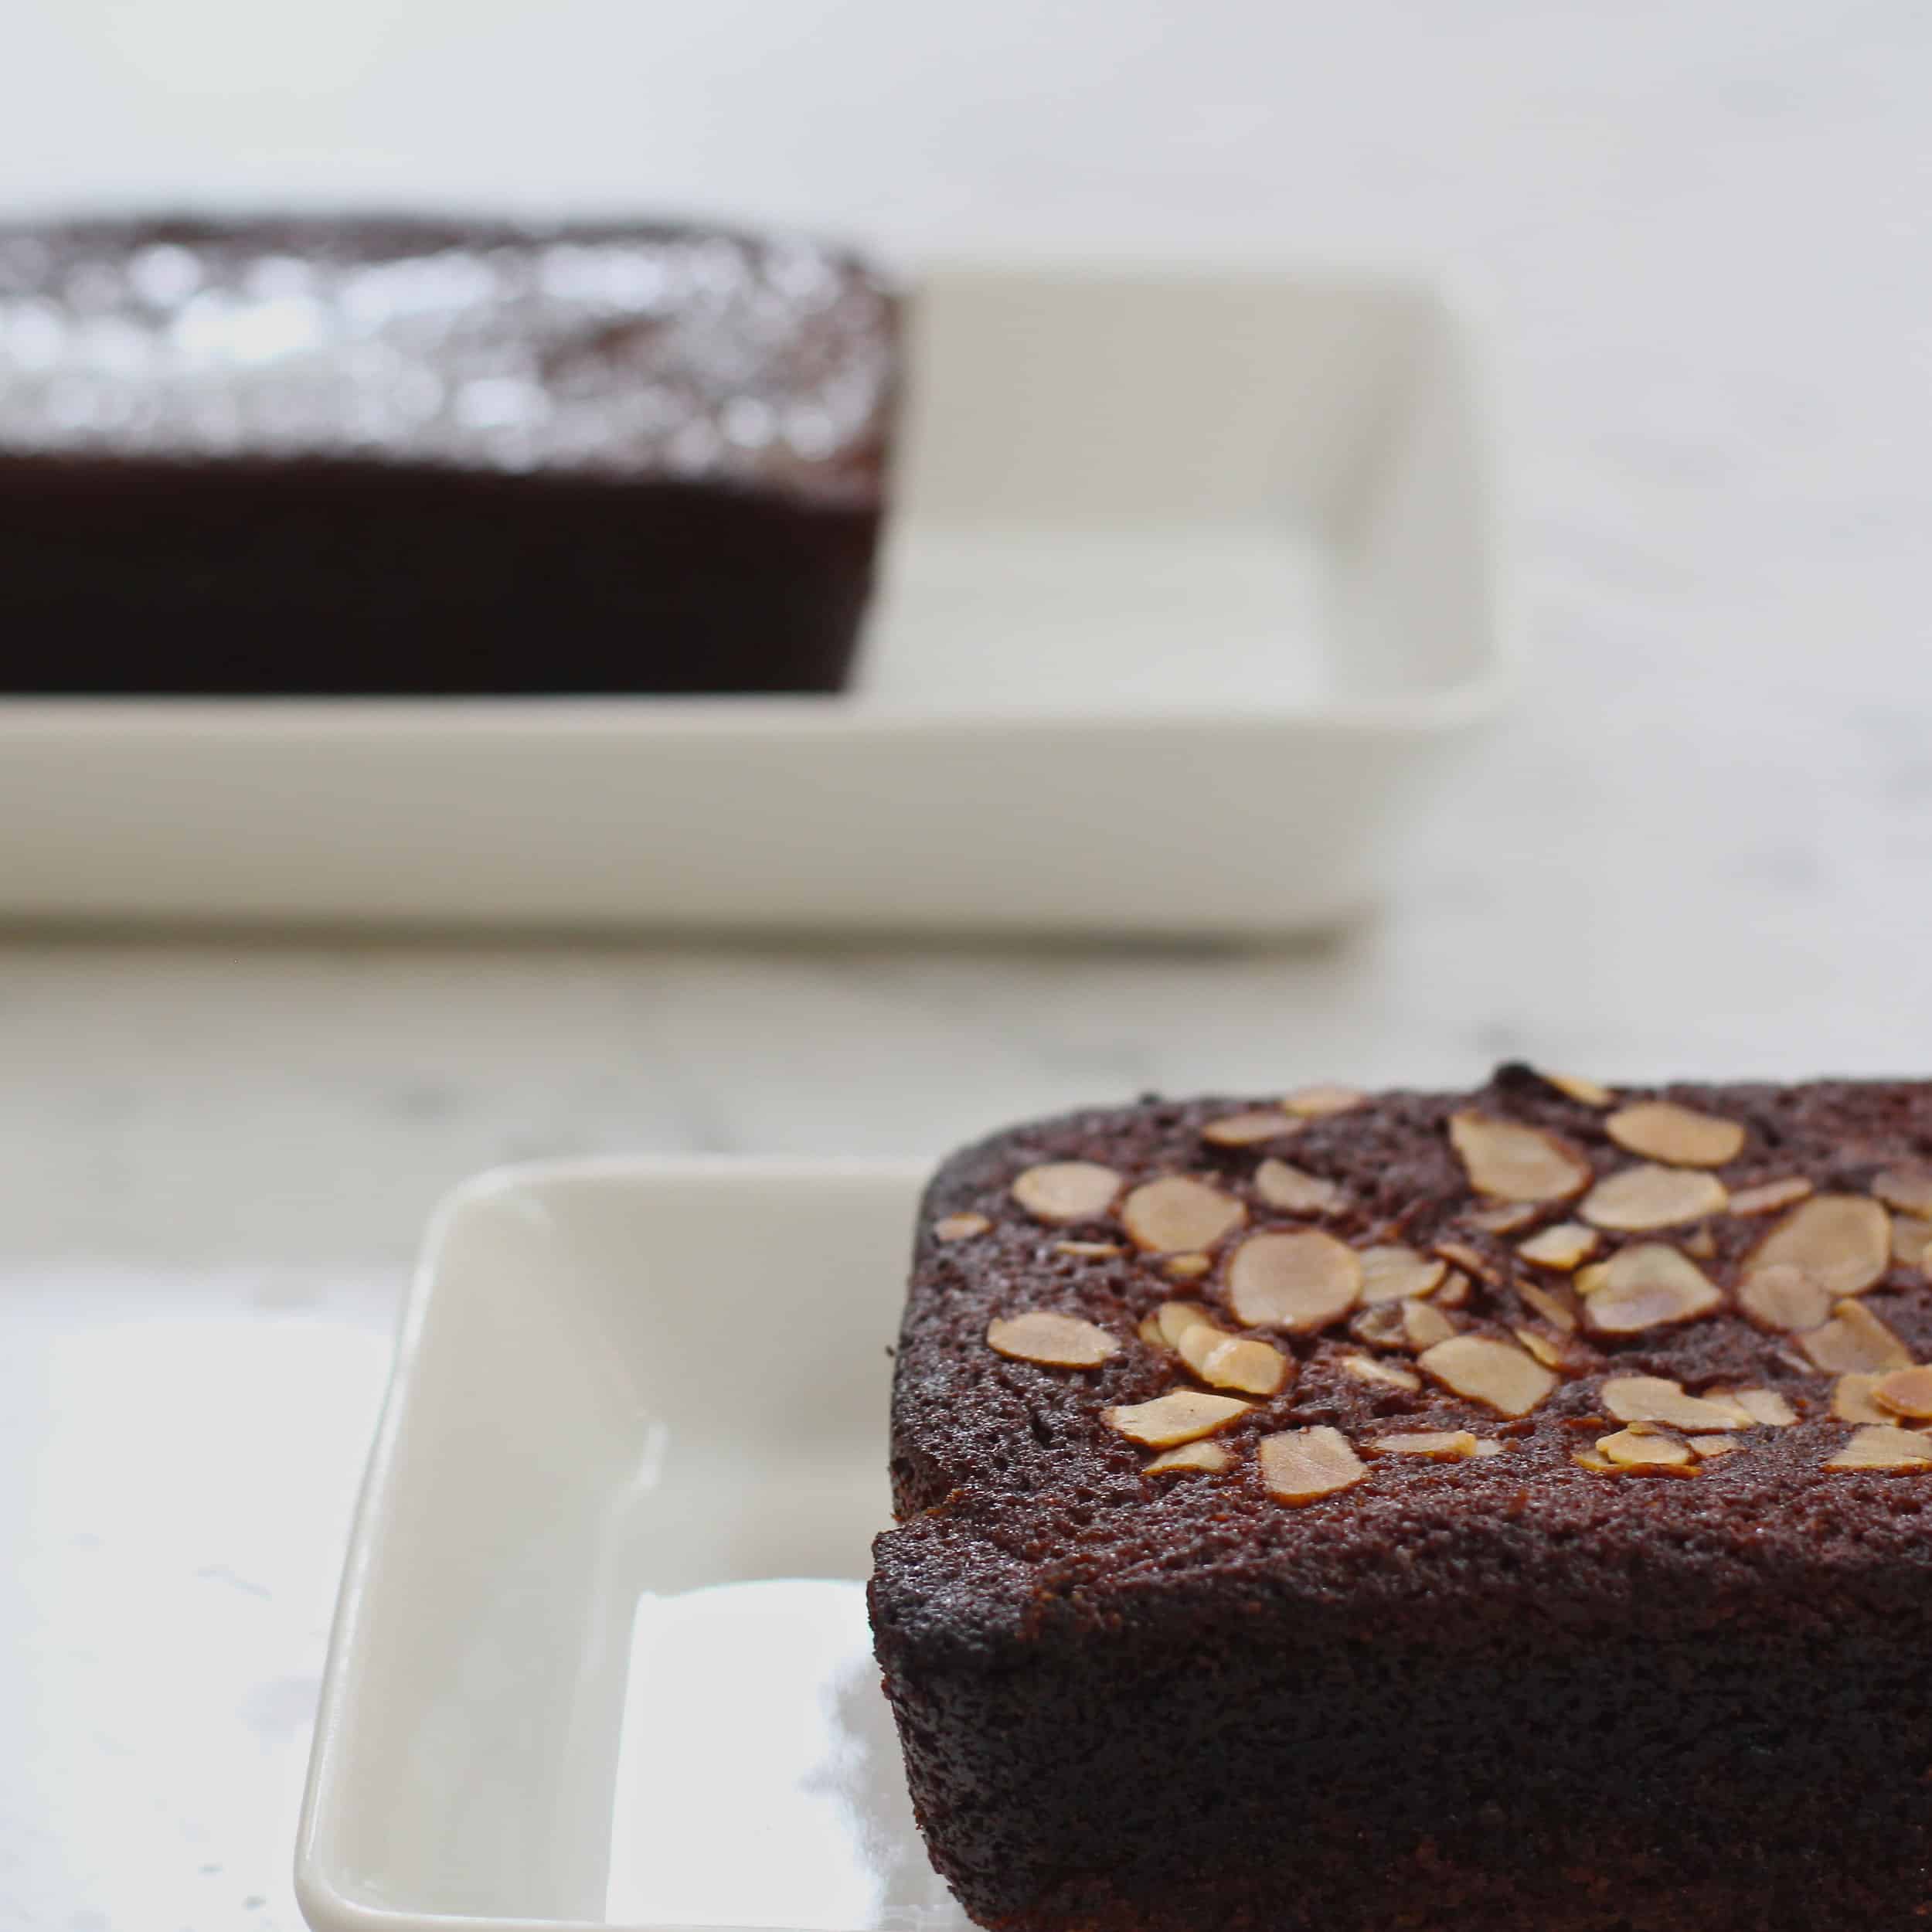
- 85g dark chocolate (preferably 70% or over)
- 50g (cocoa powder
- 250ml freshly brewed, hot coffee
- 210g plain flour
- 1 1/2 tsp baking soda
- 1 tsp baking powder
- 1/2 tsp kosher salt
- 300g caster sugar (granulated)
- 50g dark muscovado sugar (or dark brown soft sugar)
- 2 large eggs
- 125 ml sunflower oil (olive oil also works well)
- 1 tsp vanilla extract
- 120g sour cream
Creme Fraiche Buttercream
- (enough for a 2 layer cake filled and iced all over)
- 400g room temperature butter (I always use salted)
- 200g creme fraiche at room temperature
- 400g icing sugar (you can add an extra 50g if you prefer it sweeter)
- 1tsp vanilla extract or vanilla bean paste (I like to see the vanilla flecks)
- pinch of salt
Preheat your oven to 180ºC (350ºF)
Butter your cake tin (or tins) and line with parchment paper, making sure that it goes right into the crease of the tin to ensure crisp edges.
Break up the chocolate into pieces and place in a heatproof bowl with the cocoa powder. Pour over the hot coffee and stir until everything is melted together and set aside to cool slightly while you get on with the rest of the cake.
In another medium sized bowl, combine the flour, baking soda, baking powder and salt and whisk together with a fork to combine and remove any lumps.
In a large mixing bowl, start with the sugars and whisk or mix together with your fingertips until there are no lumps (muscovado and brown sugar can sometimes clump together).
Add the eggs and oil to the sugars and whisk together until pale, thick and completely emulsified. Add the vanilla and give it another stir or two.
Pour in the slightly cooled chocolate mixture into the sugar mixture and incorporate fully before adding the sour cream and mixing again. I usually switch to my rubber spatula at this point in the game.
Add the flour mixture making sure you stir in the same direction the whole time. this ensures a lump free cake batter. Careful not to over-mix as this will keep the cake lighter. This is quite a wet mixture so do not worry.
Pour in to the prepared tin or tins and pop straight into the hot oven.
Bake for 40 minutes, but check after 35 minutes to make sure you do not overbake (every oven is slightly different). It will be done when the cake has started to pull away from the sides of the tin ever so slightly, it’s spongy to the touch, a cake tester comes out clean and if you listen carefully, you should not hear too much bubbling from the centre of the cake.
Run a knife around the edge of the cake when it comes out of the oven and allow to cool in the tin on a rack for 10-15 minutes before removing from the tin and allowing to cool completely.
While the cake is cooling, make the buttercream.
Place the butter in a stand mixer and whip until smooth and airy. Add the creme fraiche (also at room temperature – this is important) and whip with the butter until combined. Scrape down the sides to make sure there are no rogue lumps of butter and whip one more time for sure.
Slowly add the icing sugar (otherwise it goes all over the place). I do this on a slower speed. Once it is all incorporated, add the vanilla, a pinch of salt and turn the speed up to high, allowing the icing to whip for a good 5-10 minutes until its increased in volume and super fluffy and silky smooth.
Once the cakes are cool, ice to your hearts content. I sometimes add a thin layer of jam before the icing, but this is your cake party so the choice is yours.
For more details on how to ice the cake, watch the video here.
Have you made this dish?
Let me know what you think, share your efforts and any tweaks you made to the recipe on Instagram, don’t forget to tag #BuildingFeasts or email me on info@buildingfeasts.com